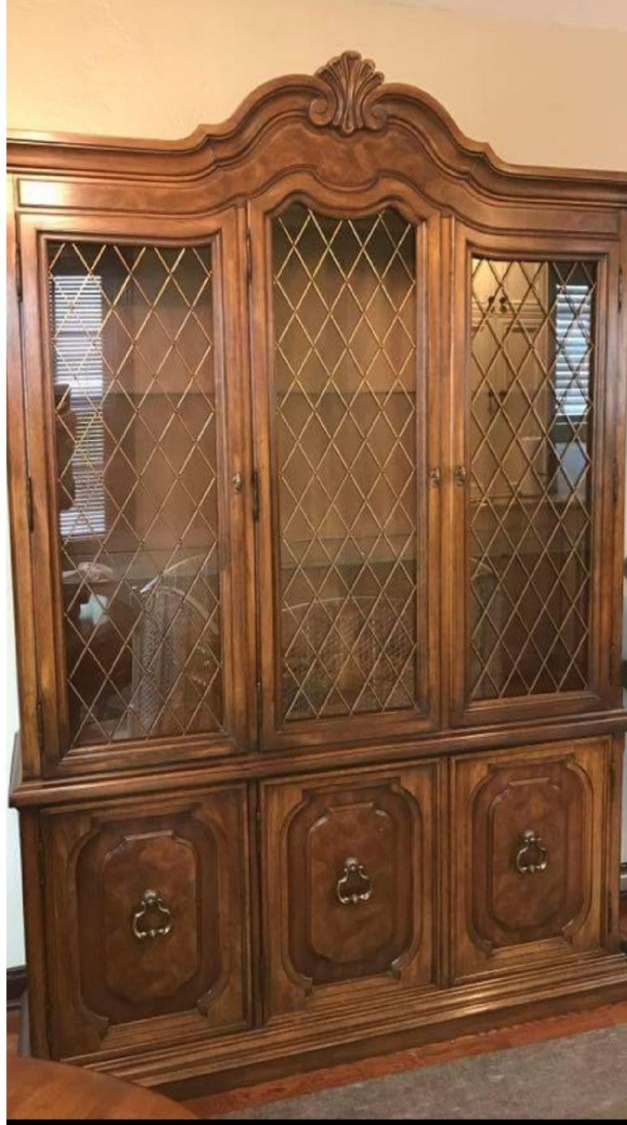
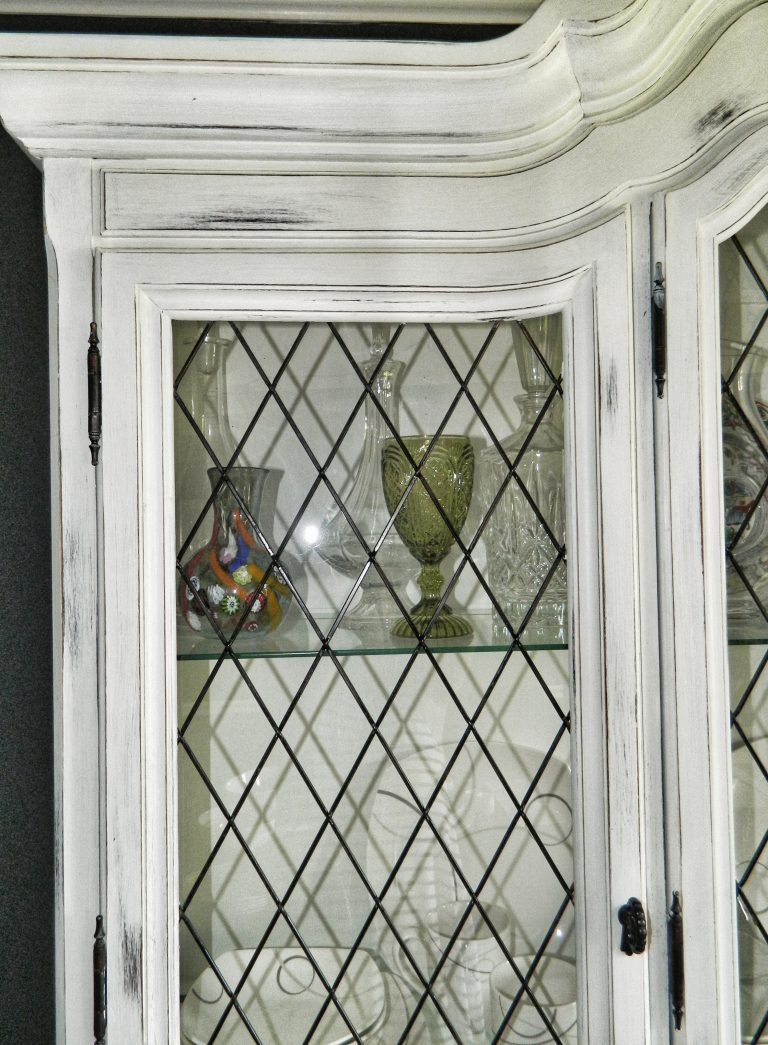
Do not be intimidated by this Makeover! It is so much easier than it looks. With my Perfectly Imperfect re-finishing method, anyone can find beautifully made antiques and modernize them in no time. I actually got this China Hutch from Craig’s List for FREE!! It was already an amazing piece but the style didn’t fit with my decor concept. After a few days I was able to transform the original into something that stops me in my tracts every time I walk by. I left all the original pieces and hardware. The entire makeover was done with Paint!
No tools required (unless needed to remove any hardware or accessories).
Instructions
*Depending on the size of your furniture you may want to re-do it in sections or pieces. I did the bottom piece 1st, then the drawers and doors, the the upper portion. If you go through each section in the same order you should be able to start the next step on what you started with – as long as it had enough time to dry.
*You will notice that there are no steps involving sanding or stripping the original piece. This is because the specific Primer that I use adheres to any type of material and will cover up stains, glosses, etc, just the way it is. It is the most amazing product I have found and literally saves hours of prep work and muscle power!
Removeall hardware and removable pieces (drawers, glass, shelves, doors, etc).
Wipe off any dirt or dust with a clean/dry rag
Shake the Primer vigorously before opening. Begin painting each part of the furniture in long, smooth strokes. Be generous with the Primer so that the first coat is more than 50% opaque.
If what you are covering is a dark wood or paint color, apply a second and third coat if needed. It is OK for a faint show-through but no more than that. Allowthe Primer to dry in between each coat.
Shake the Chalky Paint extremely well before opening. Use a regular Paint Brush and paint over everything you did with the Primer, again with long, smooth strokes.
Let dry.
Paint a second coat of the Chalky Paint using the Chalk Paint Brush. With this brush you only paint in 1 direction. This will prevent any brush marks and your piece will look like you bought it this way.
Let Dry.
Using a Regular Paint Brush, cover the entire piece with the Ceiling Wax. Once you complete each section, use a clean, dry rag to wipe off/rub inthe Wax.
Allow to dry.
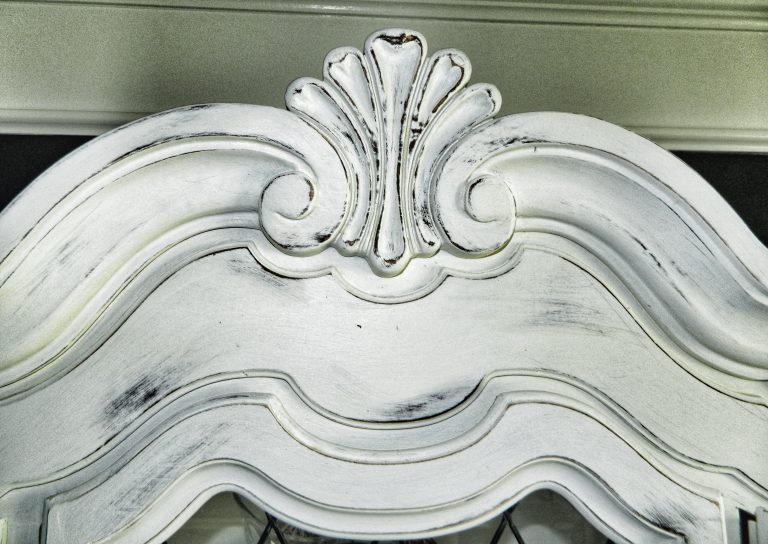
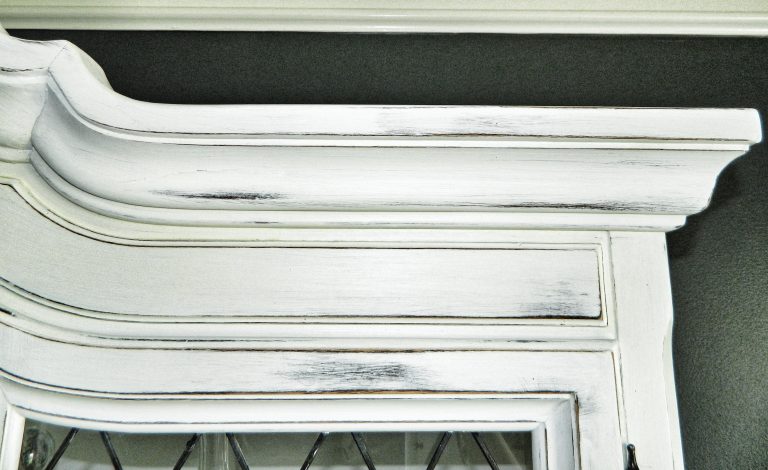
Use the Sandpaper and sand all the edges of your piece and raised surface. Also, sand various flat surfaces with different degrees of strength. Change out the sandpaper often so you get a consistent look.
After you are satisfied with the worn/antique look, cover the entire painted surface again with the Ceiling Wax. As before, once you complete each section, wipe off/rub in the Wax using a clean, dry rag.
If you will be putting on and taking off dishes, decorations, etc on a certain area, you may want to applya 3rd coat of the Wax to really protect the Paint from chipping.
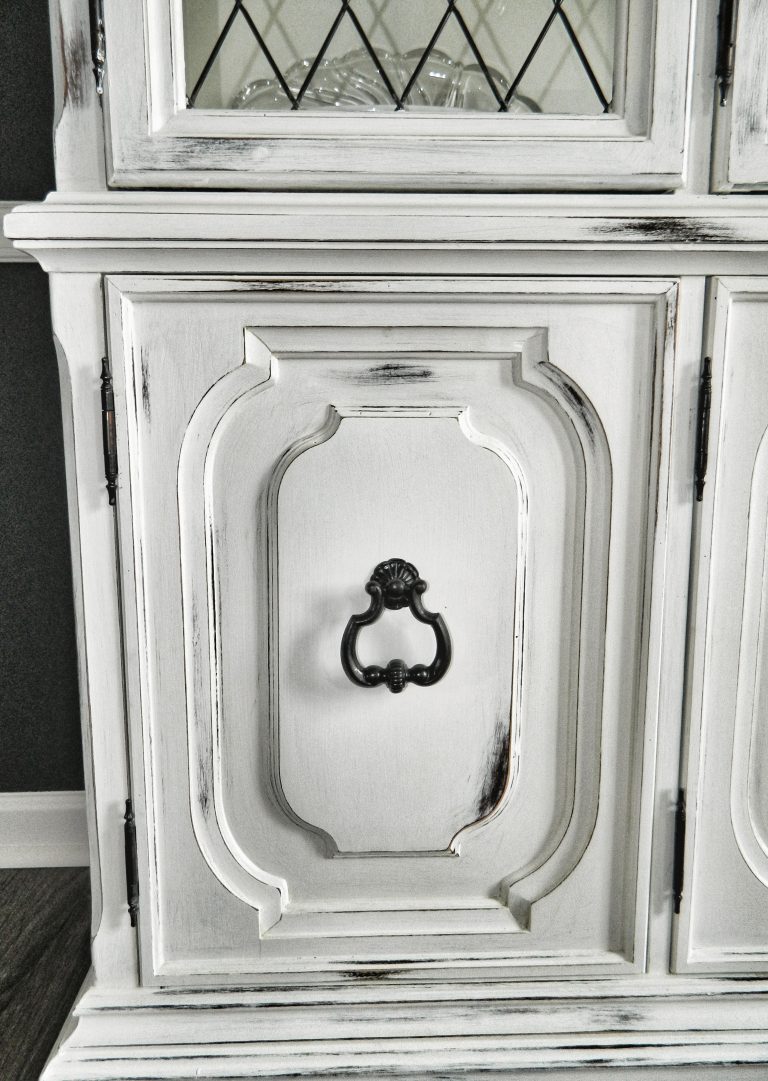
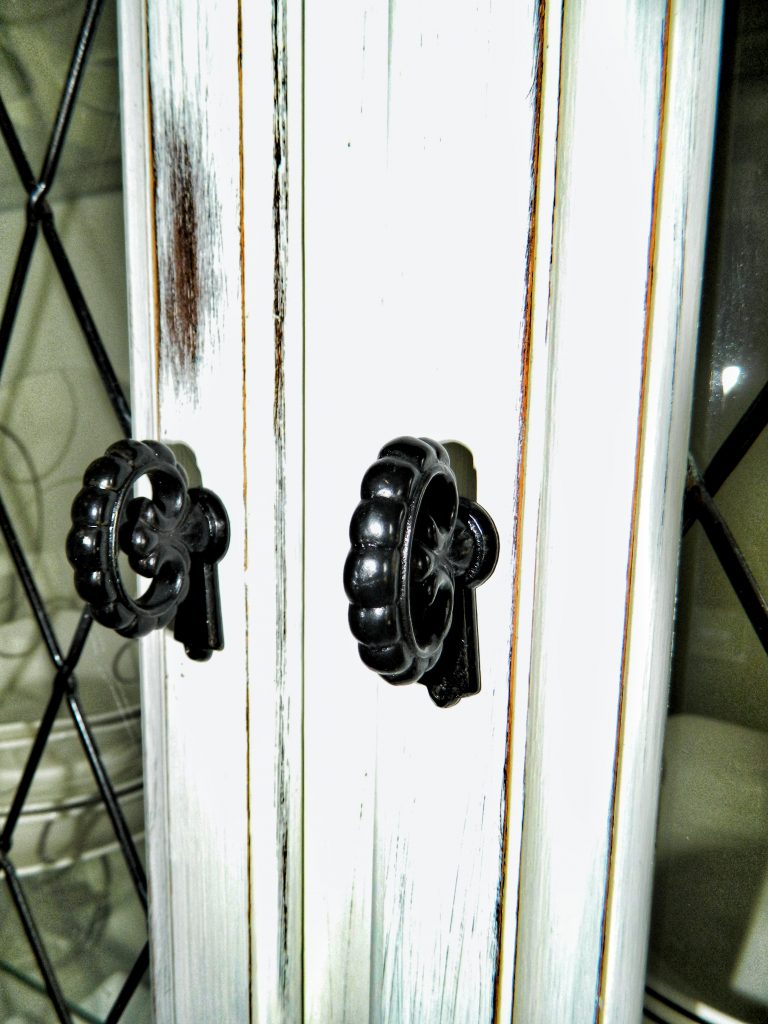
If you are updating the original Hardware, placeeach piece on a flat, covered surface and Spray Paintall sides until completely covered. You will only need to do 1 coat of the Spray Paint.
Allow to dry.
Attach all Hardware to the furniture and replace any glass or shelves previously removed and redone.
STEP BACK IN AMAZEMENT AT YOUR “NEW” ANTIQUE!!
Did you try this project? Please share you comments and suggestions below!