BY Elizabeth Scafuri
PUBLISHED 8/22/2019
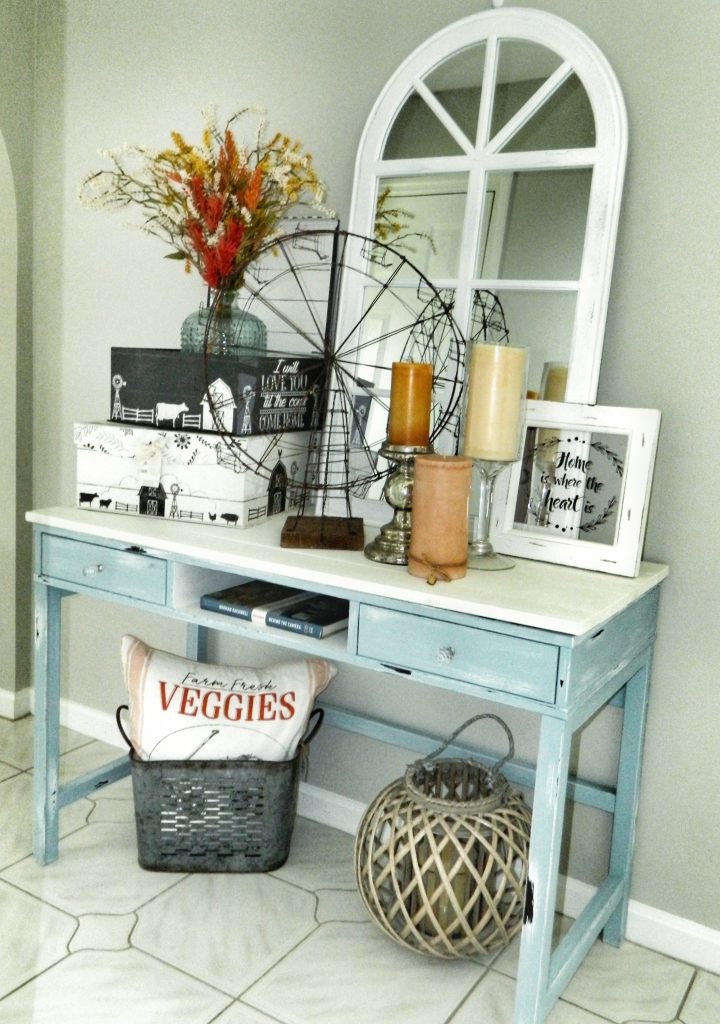
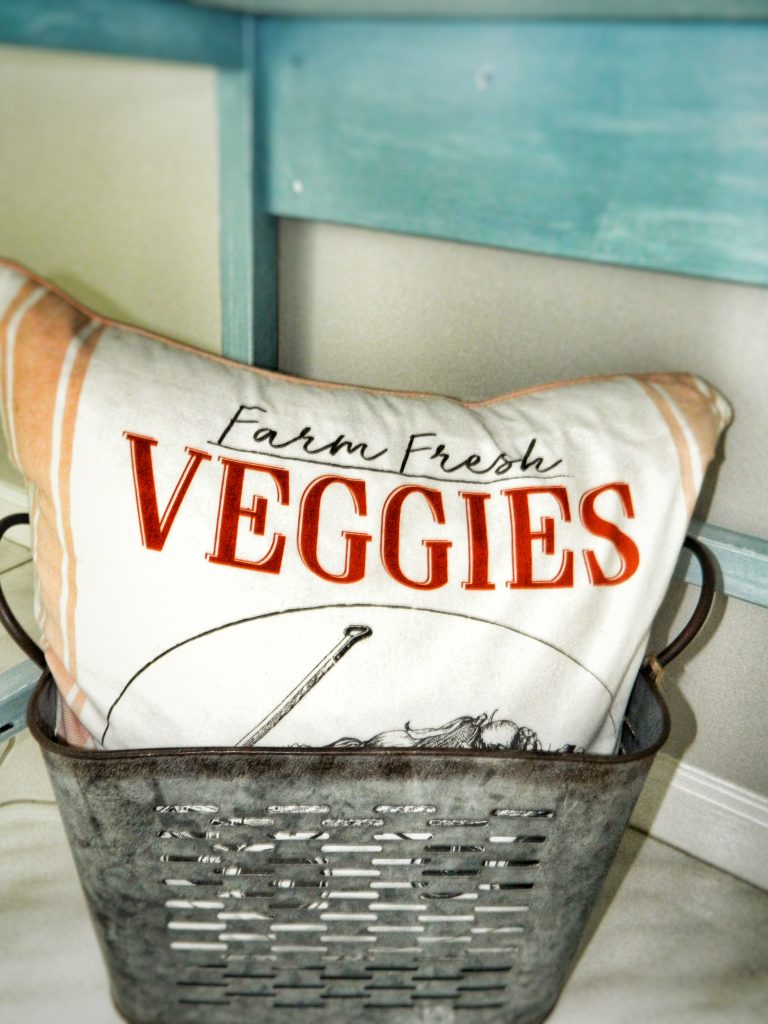
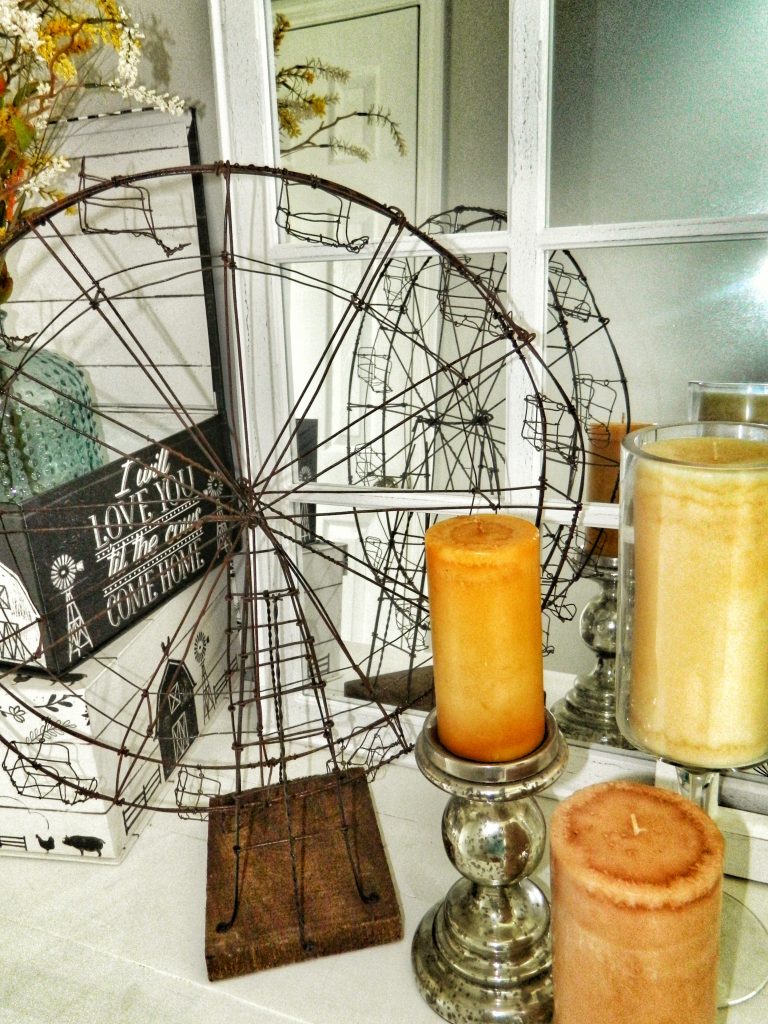
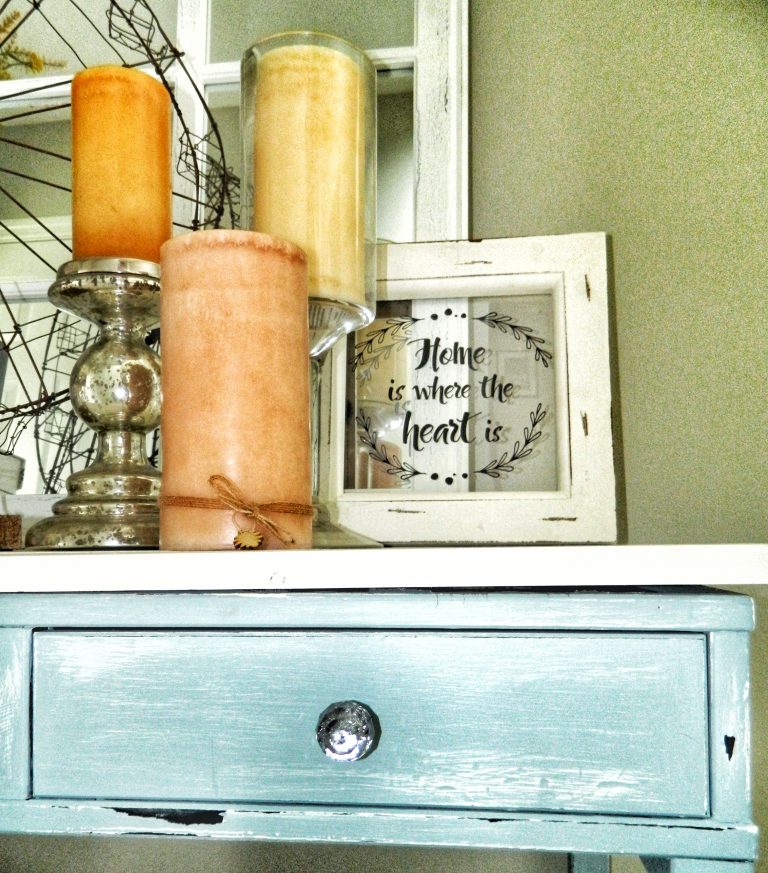
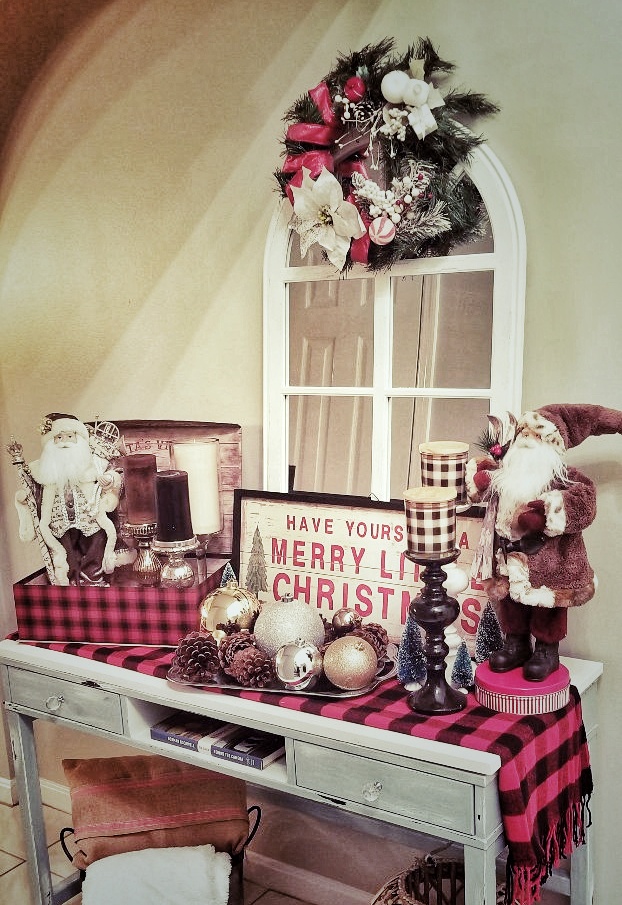
I love the look of this entry table! It is right next to our front door so it provides the first feeling and impression of the interior. The table is a Craig’s List purchase and makeover and all the accents are from Home Goods and Joanne Fabrics – most of them bought on CLEARANCE! This home decor look is perfectly imperfect in every way and can easily be re-decorated for every season and holiday. My style is to mix various heights, textures, colors, and materials while still keeping along a particular concept (mainly rustic-chic/farmhouse) and color scheme. The best part about this type of home decor is that it can always be updated and altered in endless ways. Never stop shopping for great deals to constantly make your home feeling fresher and more beautiful!

Easy Craig's List Table Makeover
To turn old, less than desirable furniture into something that looks stylish and expensive is easier than you may think! I found that using a specific Primer allows you to skip the sanding/stripping process altogether – which I think is the worst part of refinishing or updating old furniture. This method has been successful for on every piece I have re-done so far.
MATERIALS:
- 4-6 1×4-1×6 in. Common Boards (cut to the length of your table)*
- 1 qt can Zinsser 1-2-3 Primer
- 1 29oz can Valspar Tintable Chalky Paint in “Kid Gloves”
- 1 29oz can Valspar Tintable Chalky Paint in “Trousseau Blue”
- 1 16oz can Valspar Sealing Wax
- Sanding Sponge
- Regular Paint Brushes
- Chalk Paint and Wax Brush
- Fine Grade Sandpaper
- Wood Glue
- Wood Screws (optional)
- New hardware (optional)

*I used 4 1×4 in. and 1 1×6 in. boards to cover the top of the table. Based on the width of your table, the number and measurements of your boards will vary. Whether the boards line up exactly or hang over the table top on 2 or all sides, the finished product will look great – this is the foundation of The perfectly Imperfect Life! The longer wood boards are priced much cheaper than shorter ones, so choose long boards that can be cut to the lengths you need instead of purchasing multiple short boards. The hardware store will cut what you need for free!
*If you prefer you can omit putting boards on the table top altogether. I like the look of the contrasting textures and colors, but you can paint the whole table the same color and go for a cleaner look if you like.
INSTRUCTIONS
- If you are using boards to top the table, sand all surfaces with the sanding sponge and then use a clean rag to wipe off all the dust.
- Paint all sides of each board with Chalky Paint in the color of your choice using a regular brush. Let dry and apply a second coat using the Chalk Paintbrush. Make sure to paint with long smooth strokes in 1 direction.
- Using the 1-2-3 Primer, paint the entire table using your regular brush. Make sure to cover every surface that can be seen (no need to do the underneath of the table top).
- Once dry, paint your first coat of Chalky Paint on top of everywhere you painted the primer. This first coat can be done using a regular brush as well. Allow to dry. Repeat with a second coat using your Chalk Paintbrush in long, smooth strokes in 1 direction. Let dry.
- If you are adding the boards to your table, use the Wood Glue and squeeze a generous amount to the bottoms and sides of the boards. Place them on the table as you like and squeeze them together as well as pressing them firmly onto the top of the table. Allow the glue to dry for at least 30-60 minutes.
- Once the boards are firmly in place, apply the Sealing Wax to the entire table (top boards and everything painted underneath). You can do this using a paintbrush. After you cover an area with the wax, wipe it off using a dry rag – this also helps to smooth is out and absorb.
- Allow the wax to dry (maybe 30 minutes) then you can begin to “rough up” the look of your table. Using the sand paper, rub the edges and corners of the table until the paint is removed – exposing the wood or previous paint underneath. Also rub the flat surfaces with various degrees of pressure to make it look more natural. Some of the sanded areas should look more like scratches.
- Once you are satisfied with the look, wipe all of the dust off again with a clean rag. Then apply a second coat of the wax using the same method as before.
- At this point your table makeover can be complete. If you prefer the look of screws or you want the boards to be more secure, you can drill a wood screw into each end of each board (about 1/2 in. from the edge.) Make sure the screw is longer than 1 in., otherwise it won’t be long enough to go into the table.
- You can also update the hardware by replacing it with something completely different (which is what I did with the clear, crystal-like knobs) or simply spray paint what was already there. I like to use Rustoleum Spray Paint. They come in so many different colors and textures! Just remove all of it to spray on a drop cloth or or equivalent, and once dry, put them all back on to reveal your completely renovated Farmhouse Table.
- Decorate as you like!!
The Table Decorated for Christmas
Did you tried this project? Please share any comments or suggestions below!