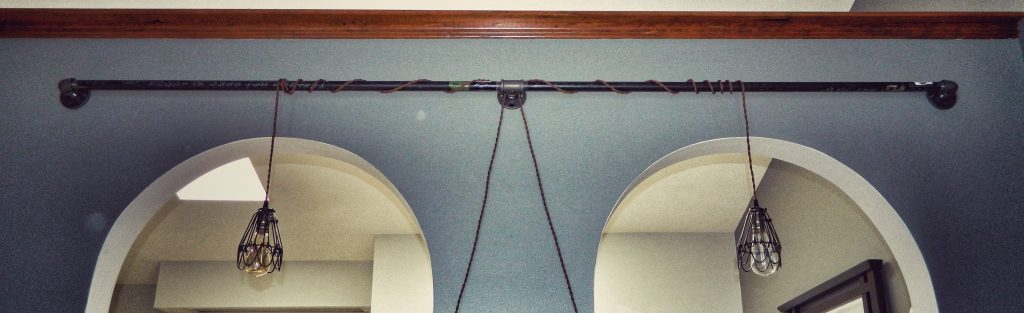
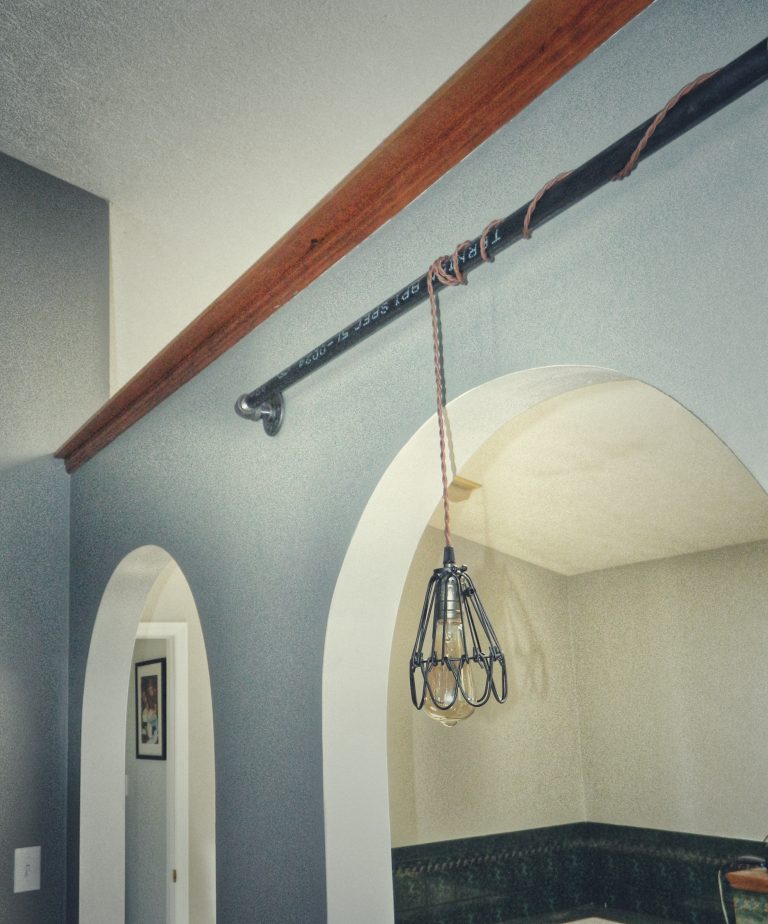
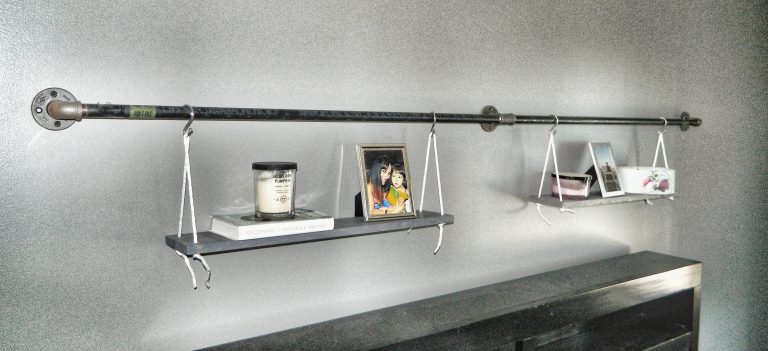
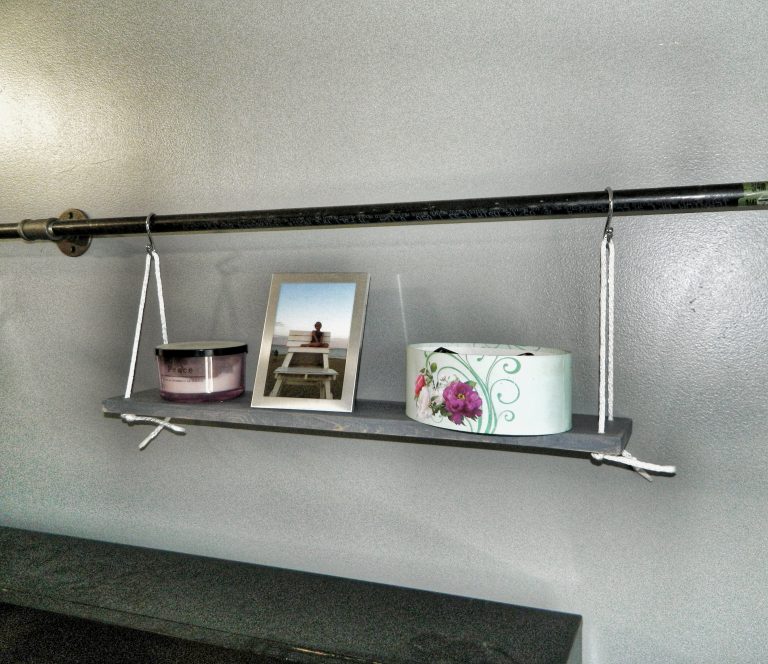
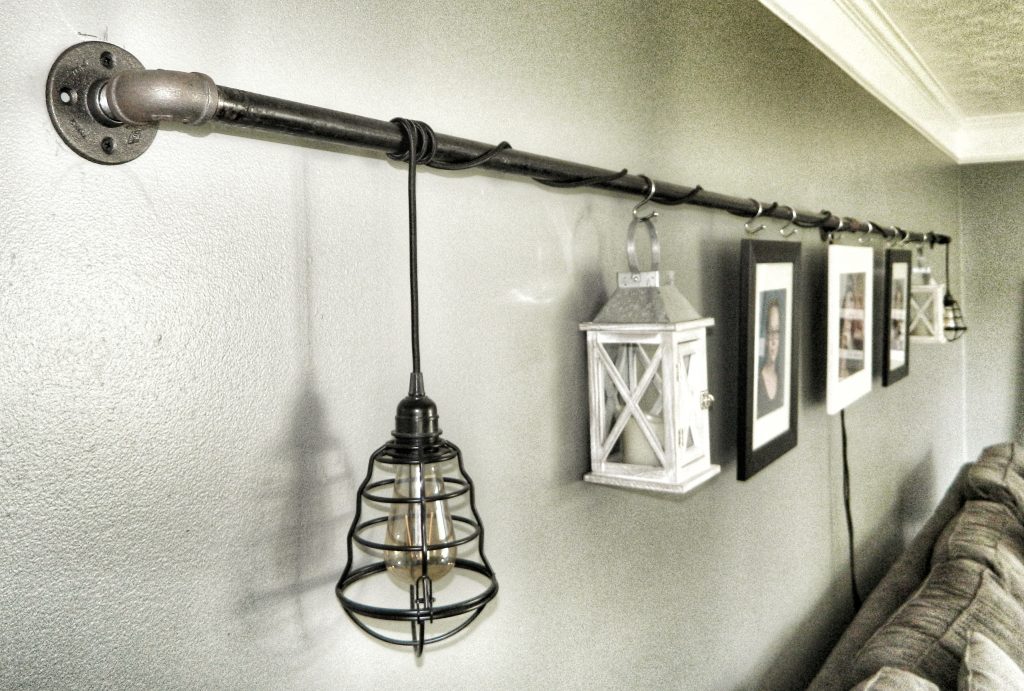
These industrial (or plumbing) pipes are one of my favorite DIY projects! They are functional, decorative, and Perfectly Imperfect in every way. Because our home had no overhead lighting when we moved in, I found that by using mounted pipes and pendant lighting I could stay away from table and floor lamps while adding some really unique style and nuance to the rooms. These pipes can be used for so many different things…ESPECIALLY hanging framed photos – no need to put a bunch of nails in the wall or struggling to get them evenly placed. Once the pipes are in place your creative process can begin and the possibilities are endless!
#9 Black Wood or Drywall Screws (I used 2 in. long screws)
Spray Paint (Optional)***
Jaw Pipe Wrench Pliers or Channellocks
Tape Measure
Old rags/towels and drop cloth
Power Drill
Note: The hooks I used to hang everything are the same ones I have throughout my home. They are reversible with 2 different size hooks and really fit over anything. Find them HERE
*When deciding the lengths of the pipes themselves you need to consider that the pipe fasteners add to the total length. So it may be best to get am idea of your absolute total length before going to the hardware store and putting all the pieces together there, and then choosing the pipe size. The store can cut long pipes to the exact length you need if they have a threader.
**You can use 1 multiple Couplings to add length as well. This is helpful if your wall studs don’t line up with a specific length of Piping. You can still place the Flanges in the studs and add Couplings to the Elbows or Tee so that everything fits together.
***I left all my pipes and fittings in the original form. I like the completely industrial look of the serial numbers etc. If you want to make them colored or look like a different material other than iron, I would recommend using any of the Rust-Oleum Spray Paints. I have used a variety of their spray paints in different colors and textures and it always turns out just how I envisioned. This one is my favorite!
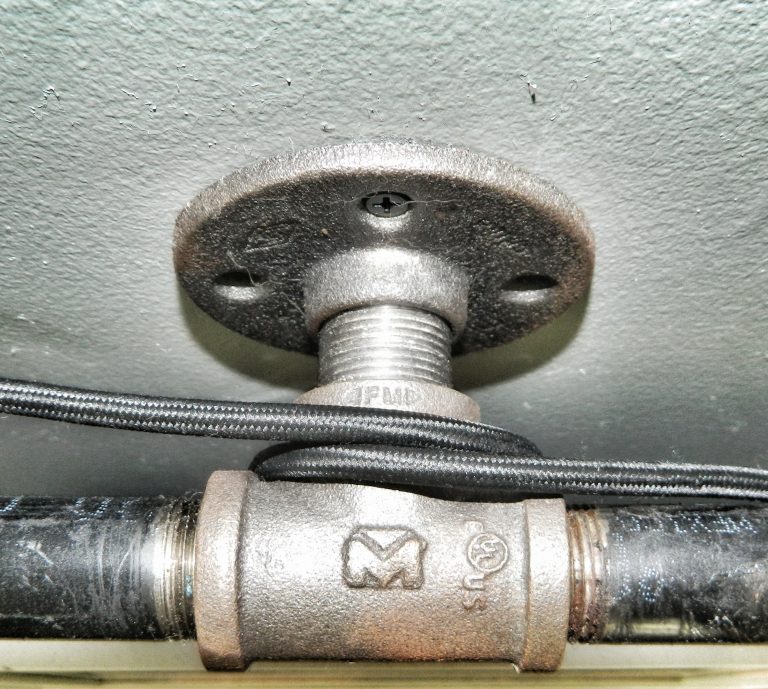
Center Tee, Flange, and Nipple
Instructions
Measure your wall to determine the length of your bars. See above note for help deciding what you need.
After purchasing Pipes and Fittings, layold towels or a drop cloth down before placing anything on your floors. (The threaded areas of the pipes and fittings are covered in grease and will stain carpet. Don’t wipe the grease off because it helps everything screw together tightly.)
If you choose to Spray Paint the pipes, this is the time to do so. Avoid the threaded ends so that they remain greasy and able to screw into the fittings. Let dry.
Place all the parts together on the floor exactly how they will be put onto the wall. It is OK to tighten with your hands at this point.
Measurethe length from the center holes of each Flange and mark those distances on your wall.
Place each Flange in its wall location and mark the top and bottom circles for the Screws.
If you are drilling into wall studs you can get away with just using the screws. If not, screw Anchors into the wall before drilling in the Flanges.
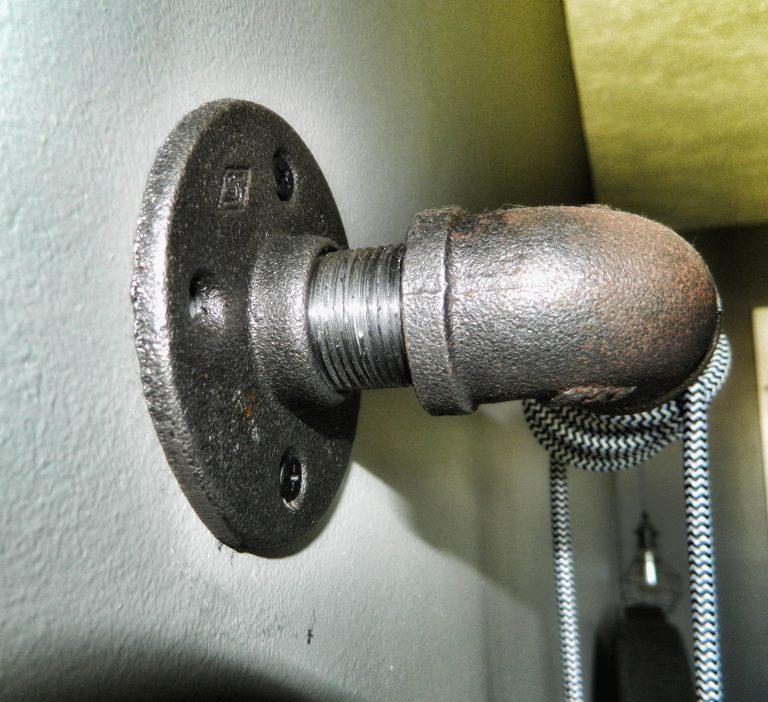
Twist the Nipples into each Flange.
Start at the left Flange and twist 1 Elbow onto the Nipple, but don’t tighten completely.
Place the Tee onto the center Nipple and twist on, but again not completely.
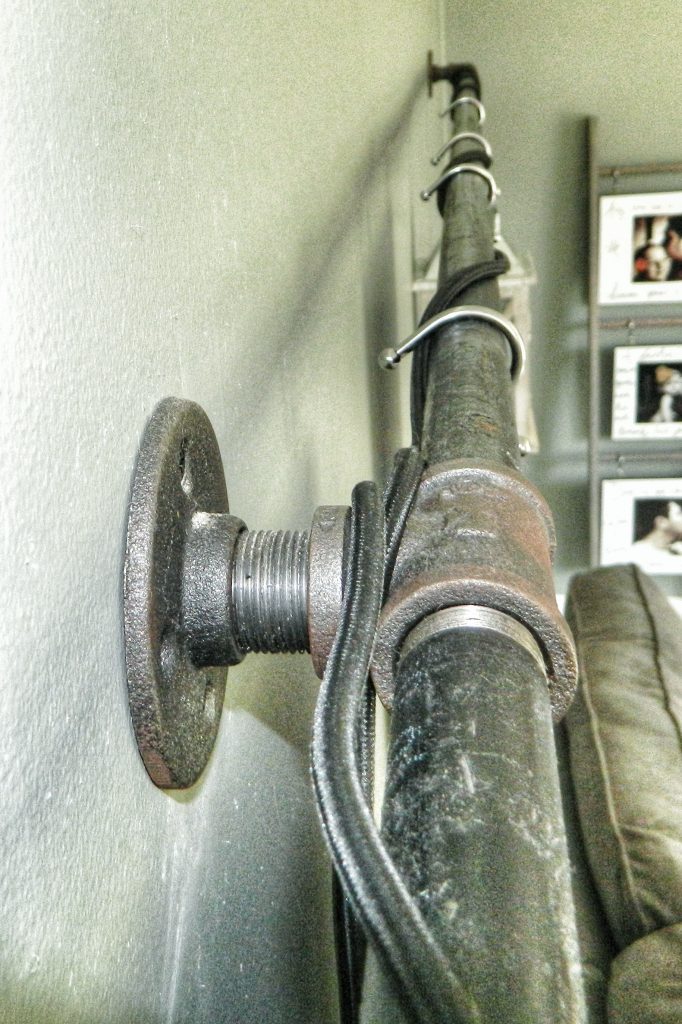
Twist 1 Pipe into the Tee and slightly adjust the Elbow while holding the Pipe, in order to fit the Pipe into the Elbow. Once the Pipe is fit into both places, use your tool to tightenthe Pipe into the Elbow and Tee and the Nipple into the Elbow.
Repeatthe process with the other Pipe, Elbow, and Nipple. This center Tee will be secure at this point. (If there are any issues with lining up the pieces – like the pipe being too long or too short – you can tighten and/or loosencertain fittings so that everything fits together properly.
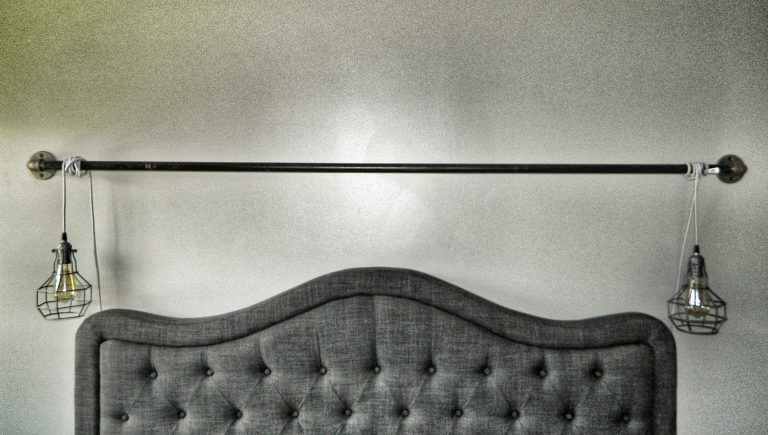
The Lighting Pipe above the Headboard covered a short enough distance that only 1 pipe needed to be used – also taking away the need for a center Flange and Tee. The piping is quite heavy so if you need a wider area of your wall covered, definitely use 2 smaller pipes with a center support system.
Did you try this project? Please share any comments or suggestions below!